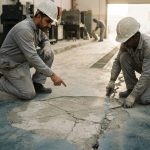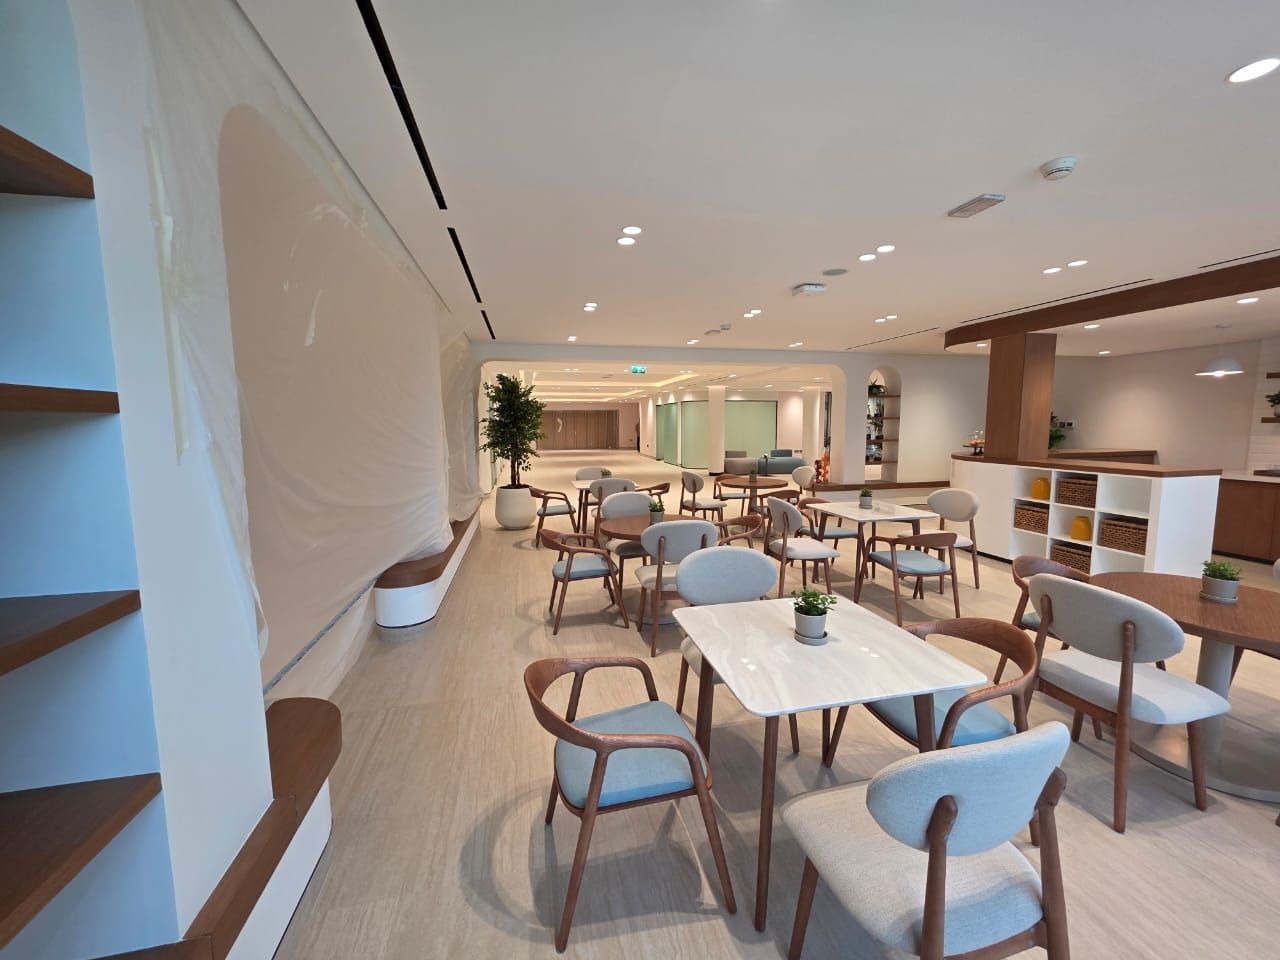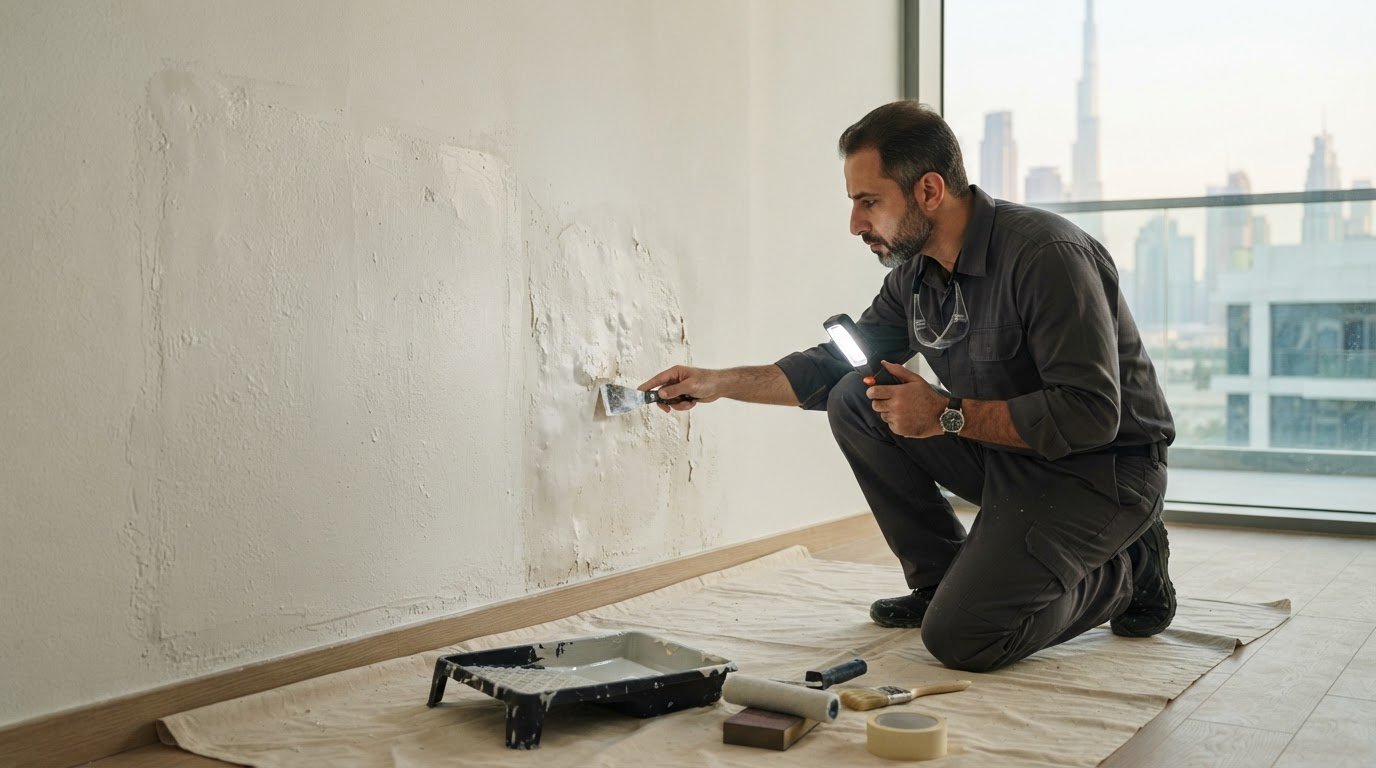
A bad paint job does not always need a complete restart. If you are deciding what to do when a paint job goes wrong, first check whether the flaw is limited to uneven coverage or points to a surface problem such as peeling or bubbling. The right fix starts with finding the cause, not simply adding more paint.
It is understandable to want to cover streaks, drips, or patchy colour quickly. But painting before the surface is ready can leave the same defects visible. Choose the repair based on the condition of the existing finish.
This guide explains when to repair specific areas and when a full repaint makes more sense. You will learn how to prepare the surface, apply another coat for more even coverage, and correct rough paint lines and edges. These steps help you decide what to do when a paint job goes wrong without rushing into a full repaint.
Key Takeaways
- Assess whether defects are isolated or linked to a broader surface failure before deciding to repair specific areas or repaint.
- Use a second coat to improve coverage only after the first coat has dried and the surface is ready.
- Identify preparation, application, and drying issues that may be behind recurring paint defects.
- Refine uneven lines and edges with a controlled approach to surface preparation and paint application.
Can a bad paint job be fixed without starting over?
Yes, isolated defects can often be repaired without repainting every surface. Choose based on whether the paint is sound, bonded, and evenly covered.
-
Assess the Defects and Choose a Repair
Inspect each wall in good light to distinguish isolated flaws from widespread failure. A small drip or patch of uneven coverage may need only a local repair. Extensive peeling, bubbling, or patchiness calls for broader preparation and repainting. Spot repairs work best when the paint is firmly bonded and the surrounding finish is sound. For high ceilings, intricate trim, or defects across multiple surfaces, professional help can make the work more manageable.
-
Document Faulty Work and Seek a Remedy
Photograph each defect in clear light and note its location and date before touching the finish. If a professional painter’s work is poor, describe the problem in writing and request a repair or refund. Keep the agreement, payment record, and replies. In the UAE, review the contract and any written warranty for coverage and remedy terms, and raise the issue through applicable consumer protection channels. Do not assume a specific warranty duration.
-
Prepare the Surface Safely
Wait until the paint is dry and cured before sanding or recoating; follow the paint manufacturer’s instructions because curing time varies by product and conditions. Use suitable ventilation and protective equipment, and control dust while sanding or stripping. For dried drips, level the raised paint with 100-grit sandpaper, then use 220-grit paper to smooth scratches. Wipe away dust and clean the surface before applying primer or paint.
-
Repair Peeling and Surface Defects
Scrape off loose, peeling paint and bubbles, sand the edges smooth, then clean, prime, and repaint in thin, even coats. For orange peel, fisheyes, or similar texture defects, let the finish cure, sand the affected area smooth, remove dust, and apply a compatible primer if needed before recoating. Do not cover a defect while its cause remains. Bubbling linked to moisture or poor adhesion can return unless the underlying surface problem is corrected.
Applying a second coat for even coverage
A second coat can reduce patchiness and roller marks, but timing and technique matter. Let the first coat dry as directed on the paint label before applying another.
- Before opening the paint, inspect the surface under consistent light. Look for thin patches, colour showing through, and uneven overlaps from roller strokes. Coverage depends on the application, wall texture, and intensity of the previous colour. Most paint jobs need at least two coats for solid, streak-free colour, but another coat will not fix peeling or poor adhesion.
-
Apply a Second Coat
Whenever possible, use the same paint type, sheen, and brand as the first coat to help the new layer blend and maintain consistent coverage. Stir the paint thoroughly, then work in manageable sections with a uniformly loaded roller. Keep each pass connected to the next while the edge is still workable. Spread the paint evenly rather than pressing hard to stretch it.
Follow the product’s drying directions between coats. Painting over a layer that has not dried can disturb the finish and leave fresh marks. Inspect the wall after the second coat. If the previous colour still shows through, primer may be needed before another application.
- If a run forms while the paint is wet, gently smooth it with a roller. For dried runs or drips, let the finish dry, level the raised paint, remove sanding dust, then apply a thin, even coat. Do not paint over a raised ridge without preparing it, or its uneven profile may remain visible.
-
Fix Runs, Drips, and Uneven Coverage
For streaks and roller marks, let the paint dry completely, sand lightly with fine-grit paper, and wipe away the dust before recoating. Use a light touch to smooth surface marks without cutting through the surrounding paint. For minor flaws, another coat of the same paint may be enough if its coverage is strong.
After recoating, assess the finish from different angles in good light. If blotches remain, check whether the texture or a darker underlying colour is affecting coverage. Prepare the area and use primer where needed instead of repeatedly adding paint.
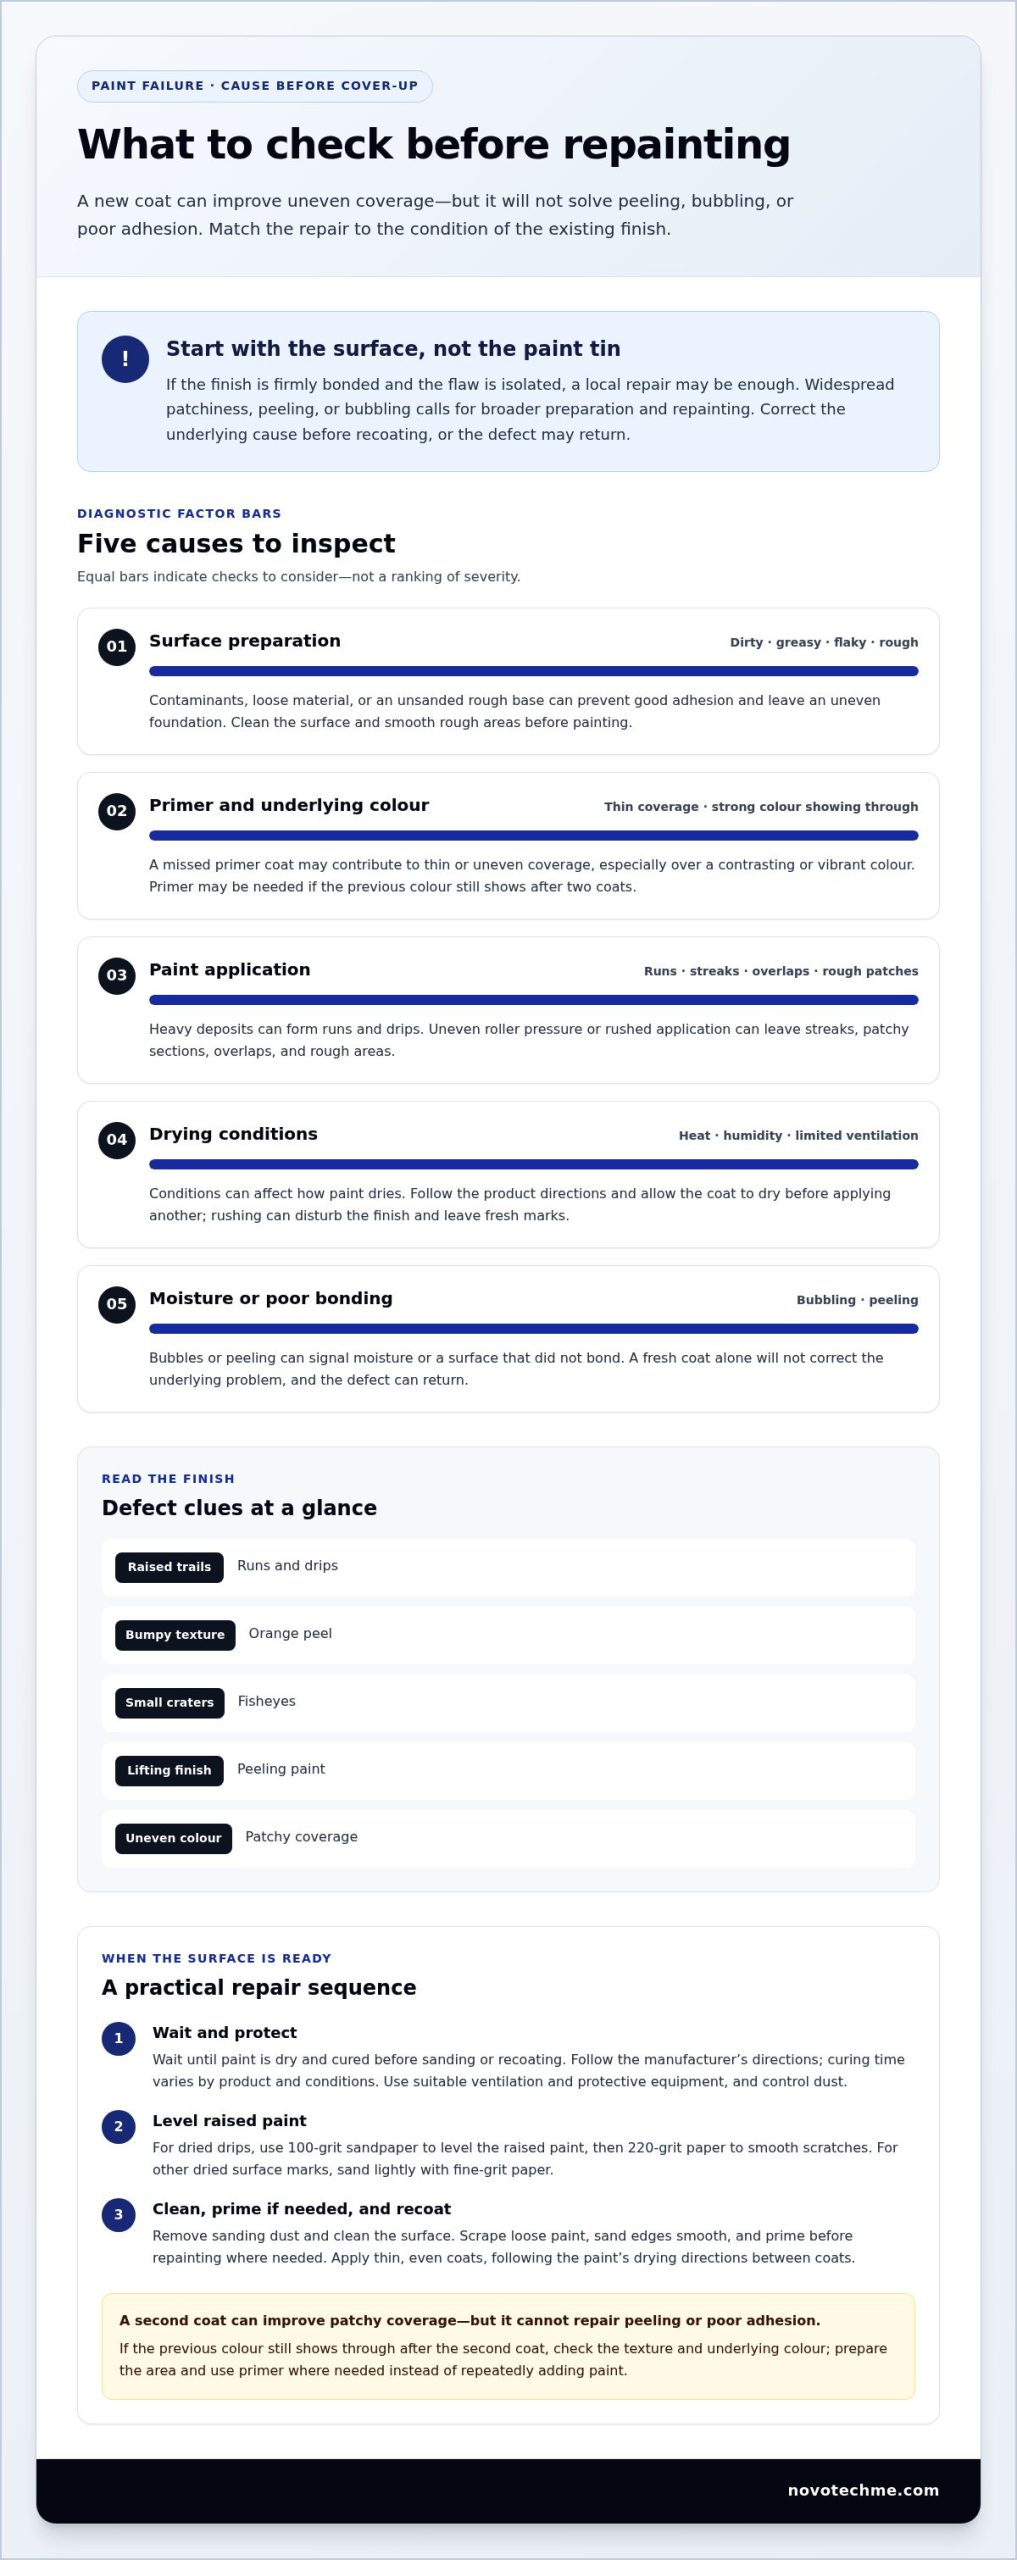
Common causes of paint failure
Identify the defect by its appearance: runs and drips form raised trails, while orange peel looks like bumpy skin. Fisheyes appear as small circular craters; peeling lifts away from the surface, and patchy colour indicates uneven coverage.
- Check whether the surface was dirty, greasy, flaky, or rough before painting. Paint may not adhere well to these conditions, and skipping necessary sanding can leave an uneven base. Remove contaminants and smooth rough areas before painting to give the new layer a stable foundation.
- Thin coverage or an old, vibrant colour showing through may indicate that primer was missed. Primer may be needed over a contrasting colour or if coverage remains uneven after two coats. Without suitable preparation, more topcoat can still leave the original shade visible.
- Consider whether the paint was applied too quickly or unevenly. Heavy deposits can form runs and drips, while inconsistent roller pressure can leave streaks or patchy sections. Rushed application may also create overlaps and rough areas. Inspect the surface from different angles to spot these patterns.
- Consider the drying conditions, especially heat, humidity, and limited ventilation. These can affect how paint dries and contribute to defects if the finish cannot dry as intended. Follow the product directions and allow adequate drying between coats instead of rushing the next application.
- Compare the defect with the condition of the surface beneath it. Bubbling or peeling can signal poor preparation or moisture that prevented the paint from bonding. A fresh coat alone will not fix the underlying issue. Orange peel, fisheyes, and rough patches are visible defects, but their appearance alone does not prove a single cause. Note where they occur and assess the surface before choosing a repair.
Poor preparation, unsmoothed surfaces, skipped primer, or rushed, uneven application can cause paint failure. Over a darker colour, quality primer can improve coverage with a lighter shade and reduce colour bleed-through.
Correcting uneven paint lines and edges
Uneven edges often result from paint bleeding beneath tape or inconsistent brush control. Careful preparation, measured application, and clean tape removal help create a neater line.
- Inspect the edge in good light and locate where paint crossed the intended border. If it is dry, carefully level raised marks with fine sandpaper, then remove the dust before touching up. Avoid sanding through the surrounding finish. For a minor bleed, use a small brush and the adjoining surface’s original colour to refine the boundary.
- Apply painter’s tape to a clean, dry surface. On smooth walls, press the tape’s edge down with a putty knife so it lies flat and paint is less likely to creep underneath. Align the tape with the intended border before pressing it down. Repositioning tape after painting can disturb the fresh edge or leave gaps.
- Control paint placement along the border. Apply paint near the desired edge, then guide the brush toward the line with steady strokes. Load the brush consistently and avoid excess paint, which can pool against tape and create a ridge. Work in manageable sections to keep the line even.
- Remove painter’s tape after painting the final coat, while the paint is still fresh. Pull it back slowly at a low angle instead of tearing it away from the wall. If the paint has dried over the tape, carefully score the edge before removal to reduce the risk of lifting the finish.
- Check the border after removing the tape and correct small imperfections with a fine brush. Use the adjoining colour to sharpen a wavy line, applying each touch-up thinly. For long ceiling or trim edges, work in consistent sections and keep a steady hand. Repeated, thick corrections can leave a visible, uneven band.
NovoTech: Exterior Building Painting Services
NovoTech provides Exterior Building Painting Services for buildings where extensive surface defects, uneven edges, or widespread coating failure call for a coordinated repaint. For interior walls, Interior Painting Solutions can address finish problems across rooms, while Villa Painting & Exterior Finishes suit broader villa repainting needs. The right scope depends on which surfaces are affected and whether the existing paint is sound.
For recurring defects across a property, a planned painting project can address preparation and finish consistency together instead of treating every mark as an isolated touch-up. NovoTech also provides Epoxy Floor Painting & Coatings for floor coating projects, a separate service from wall repainting.
To discuss a painting project, contact NovoTech through its website.
Plan the Right Next Step for Your Paintwork
Deciding what to do when a paint job goes wrong starts with assessing the result you need. If the finish is sound beneath a few visible flaws, focused corrections may be enough. If defects extend across several surfaces, consider the full scope before adding more paint. A measured decision can prevent repeated touch-ups from turning into a patchwork finish.
For larger projects, NovoTech offers Exterior Building Painting Services, Interior Painting Solutions, and Villa Painting & Exterior Finishes. These services address repainting needs across building exteriors, interior spaces, and villas. Assessing the affected areas helps clarify what to do when a paint job goes wrong and what scope of work makes sense.
Contact NovoTech for paint advice to discuss what to do when a paint job goes wrong and take the next step toward a more consistent finish.
Frequently Asked Questions
Is it cheaper to fix or repaint completely?
Repairing a contained flaw usually takes less work than repainting sound surfaces, but widespread defects can make a full repaint more practical. Compare the area needing correction, the preparation required, and whether the colour or sheen will match. For example, if a touch-up leaves a visible patch, repainting the whole wall may create a more consistent finish and avoid repeated corrections.
Why Do Bad Paint Jobs Happen and What Can You Do?
Paint problems can follow rushed work or a mismatch between the surface and coating. Before work begins, review the paint label, inspect the wall, and test the selected finish in a small, discreet area. If a defect appears, note where it occurs and whether it changes after drying. This can help distinguish an application issue from a recurring surface problem.
What consumer rights and warranty rules apply to faulty painting work in the UAE
In the UAE, review the contract and any written warranty for coverage and remedy terms, and raise the issue through applicable consumer protection channels. Do not assume a specific warranty duration.
Health and safety risks when sanding or stripping defective paint
Use suitable ventilation and protective equipment, and control dust while sanding or stripping.